Do you love creating prank videos or videos for fun purposes mainly? Let’s spark your creativity in all such videos by using a reliable and realistic voice changer tool. However, the question arises which voice changer tool is the best to choose? So, always look for full-featured video editing software so that you can perform everything in one place. You shouldn’t roam around editors to create an inspiring video with perfection in every aspect.
The Best Editor With a Professional Voice Changer
CapCut Desktop Video Editor is the best editor where you can make all the edits in one place. From making basic edits to using advanced editing features and AI tools e.g. voice changer, it offers everything. So, it becomes much easier and more joyful to edit your video and apply these creative changes to it in one place. Also, it saves time and plenty of effort to bring impressive transformations to your videos on this editor. Let’s take a minute to explore it and learn how it can help you unlock your creativity with its exclusive features/tools.
Exclusive Features of CapCut Desktop Video Editor
Unlike any other desktop editor, this is the most lightest yet the most powerful video editor. It is enriched with all the basic and professional features that you need to create a perfect video. For example, it brings to following exclusive features that help you create the best videos.
- Easy-to-use basic video editing features
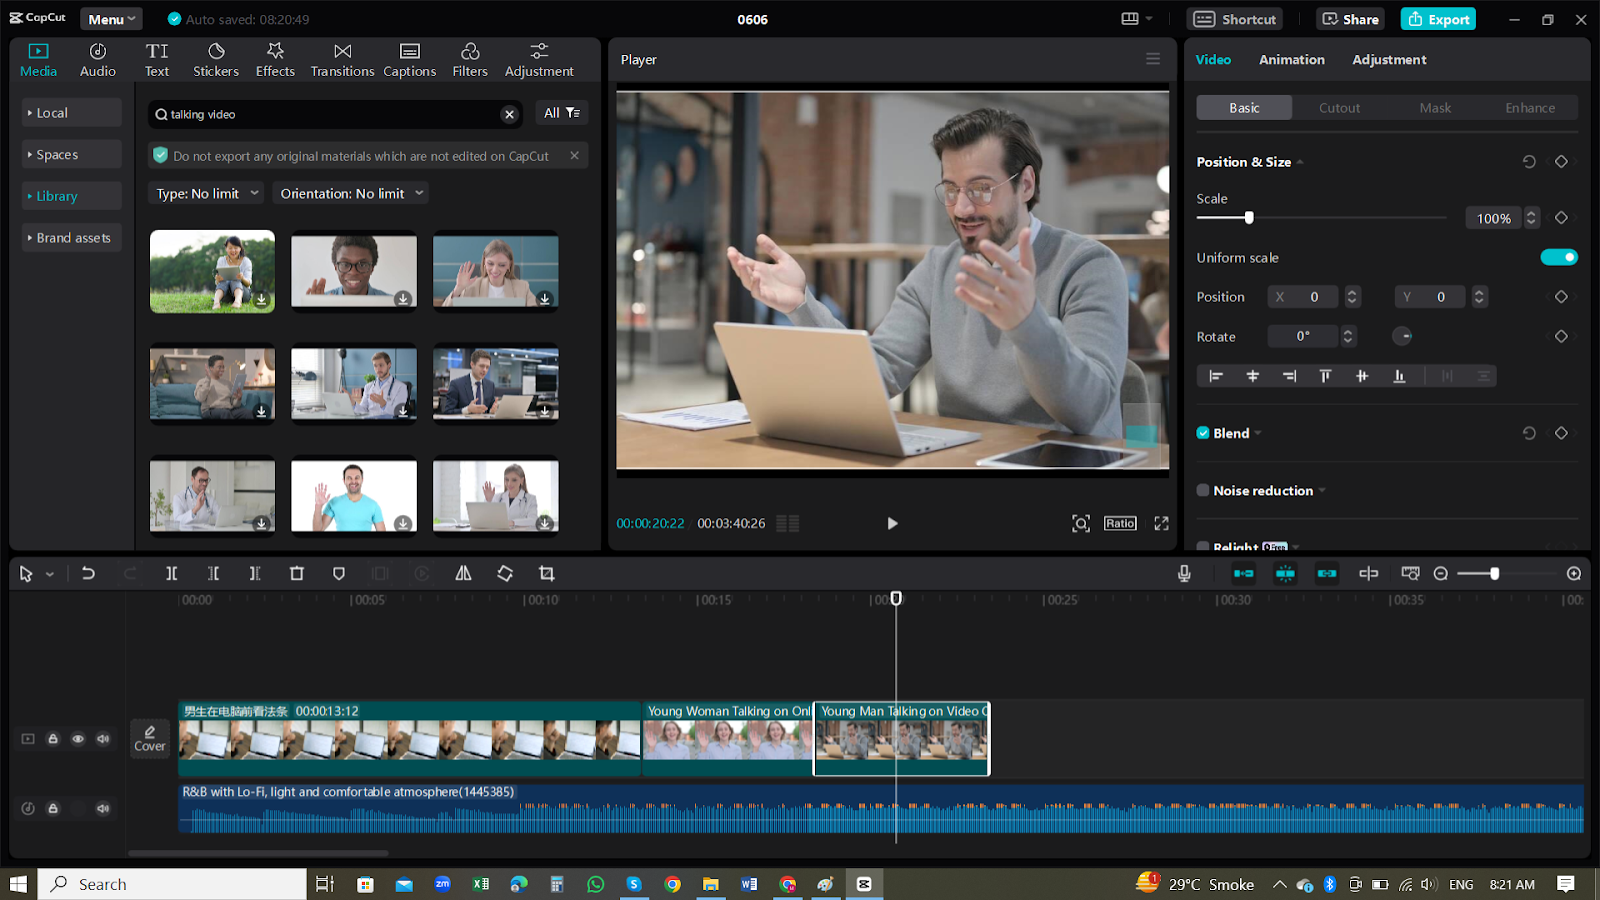
Whether you need to cut a specific video section, trim, resize, or adjust its colors, you can do everything here. It supports trimming, cropping, splitting, resizing, etc. along with all other basic video editing tools.
- Advanced video editing features
Besides this, you can also make more advanced edits to your videos for a professional look. For example, you can use its masking tool, speed curve, or transcript-based editing feature for more profound results.
- A variety of AI tools
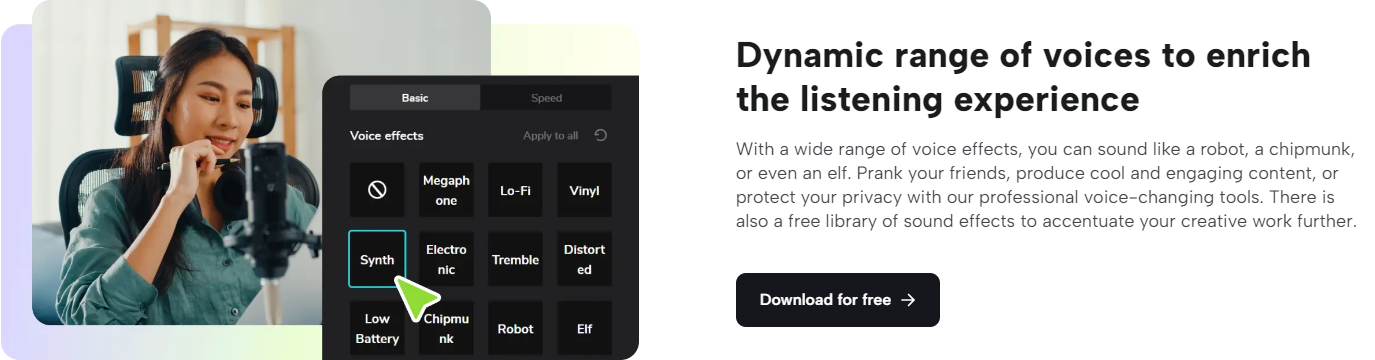
AI tools bring further creativity and speed to your random videos. For example, you can use the voice changer tool to adjust your voice to any video scenario. You can choose your preferred voice from a rich collection of voice effects here to suit your needs. Besides, also try other AI tools e.g. auto-captions and auto cutout to make remarkable edits.
- Massive video stock library
In addition, you can also use the CapCut desktop video editor’s massive video stock library. You can choose any video template from there and customize it as per your needs. It is the best way to create the most impressive videos and share them with your friends.
- Custom export and sharing
For sharing videos, you don’t need to first download them to your PC after customization. Instead, click on the desired social media icon e.g. YouTube, TikTok, etc. to share your videos there instantly. You can also make a custom export to your device by choosing the file format, resolution, bit rate, etc.
How to Use Voice Changer in CapCut Desktop Video Editor?
To use the voice changer in CapCut Desktop Video Editor, follow the steps below.
- Step 1: Import
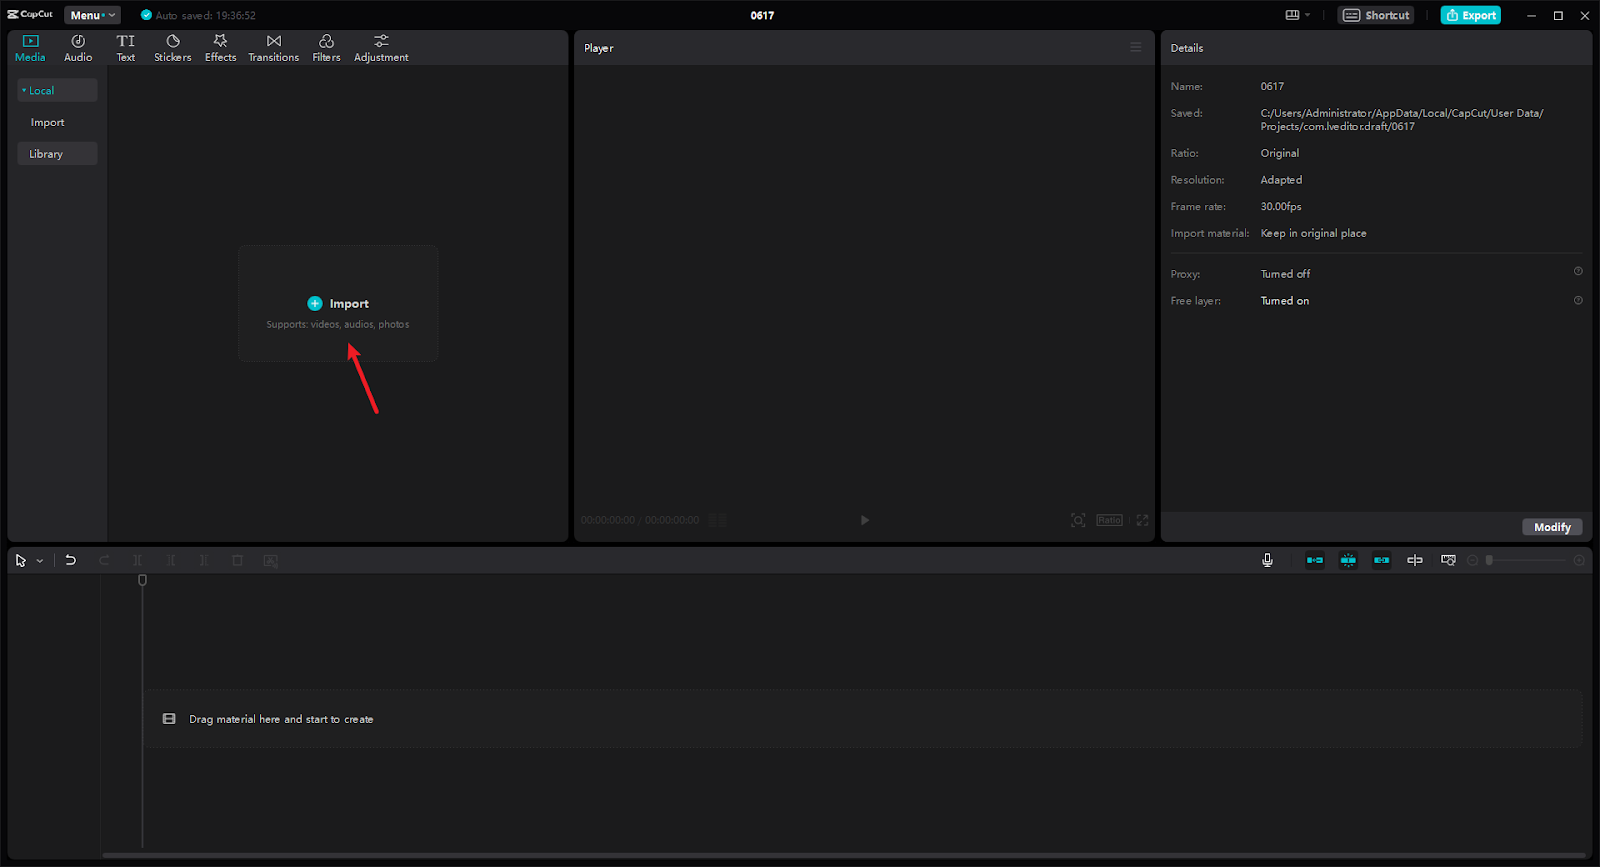
Open the CapCut Desktop Video Editor on your laptop or PC. If you don’t have it installed, do it now from the CapCut website. Then, open it and click import or new project. Choose or drag and drop a media from your device gallery. You can also look up CapCut’s stock media to find any beautiful video templates to use.
- Step 2: Edit
Now, you can edit your video by using basic tools first such as trimming, cropping, color adjustments, etc. Then, apply any advanced features if you want or apply video effects. Otherwise, let’s move to change your choice through voice changer now.

To use a voice changer, add any audio to your video. Then, click on the “Voice Changer” on the top right side of your screen. Click “Voice Filters” and pick up any voice filter to add to your voice audio. Every filter will have a different effect on your voice. If you want, you can also choose “Voice Characters” to further change your audio. Finally, click on the “Voice Tone Change” under “Speed” and also choose the desired voice speed.
- Step 3: Export
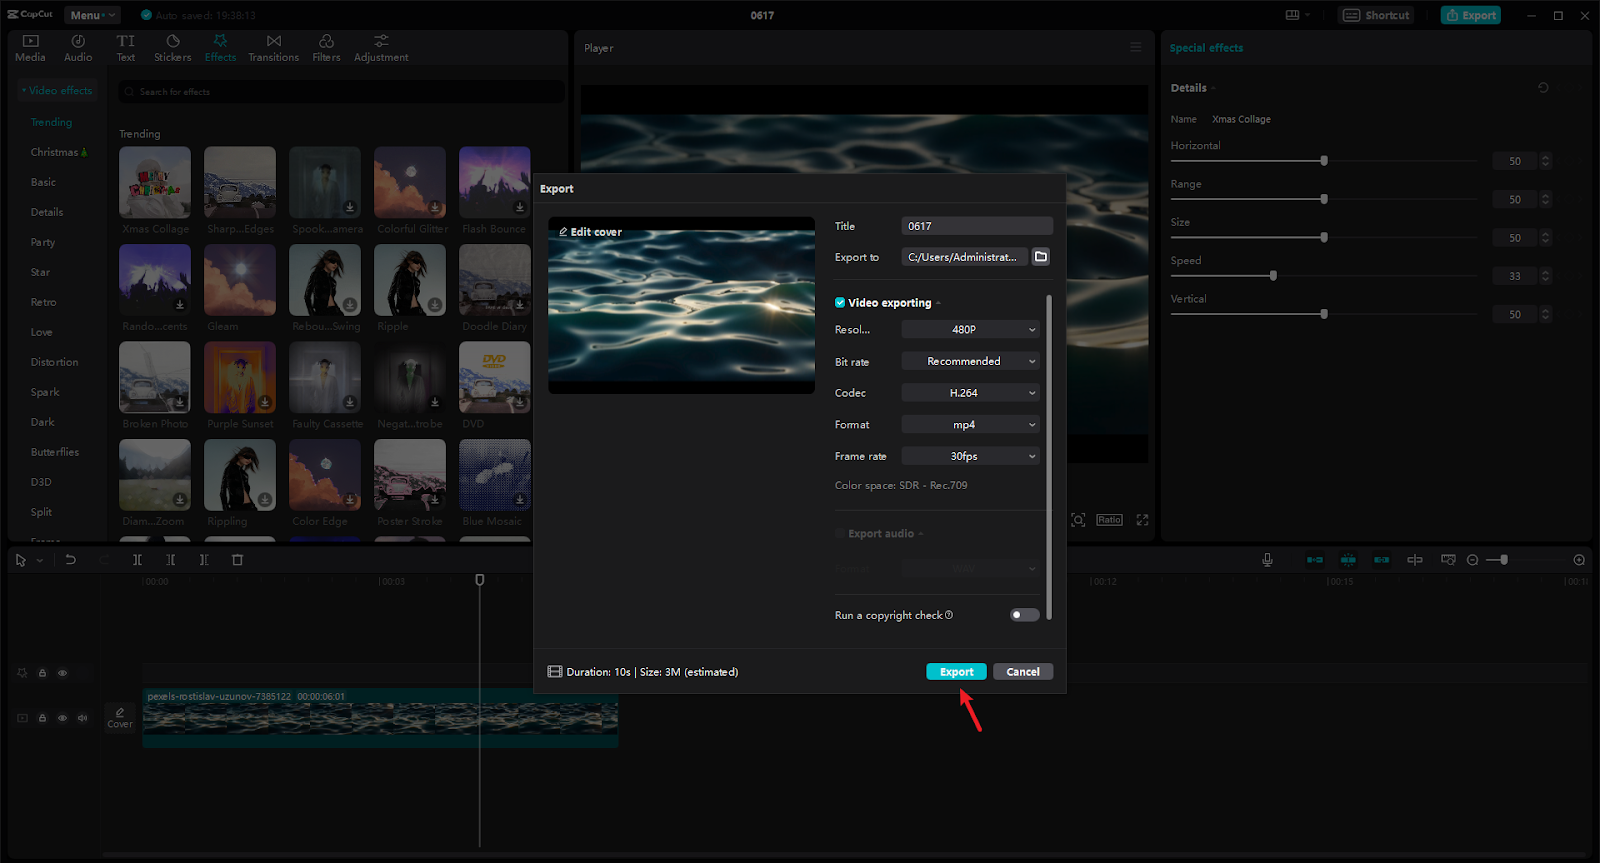
After making all the edits to your video and its audio, simply click the “Export” button to download it. You can choose the resolution size of your video and file format etc. before downloading. There are also options to share it on your social media accounts e.g. TikTok.
Conclusion
Let’s spark the creativity in your videos by using voice changer tools and other advanced/AI features in CapCut PC. It doesn’t only offer a great variety of tools to use but also simplifies the workflow. So, let’s enjoy creating impressive videos and sharing them with others to bring a smile to their face.